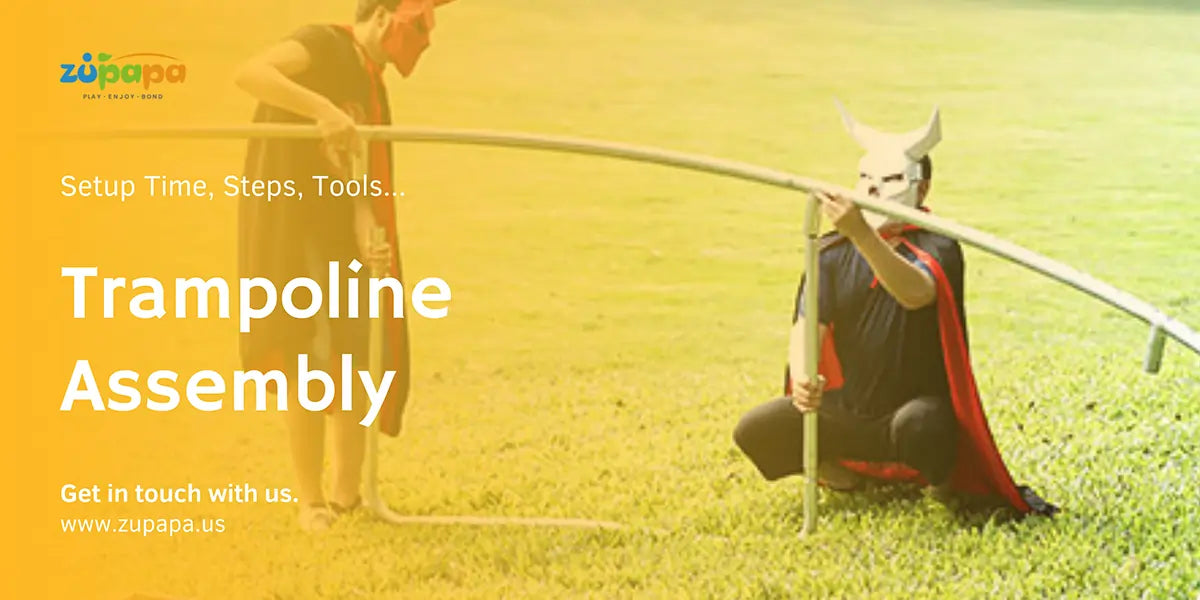
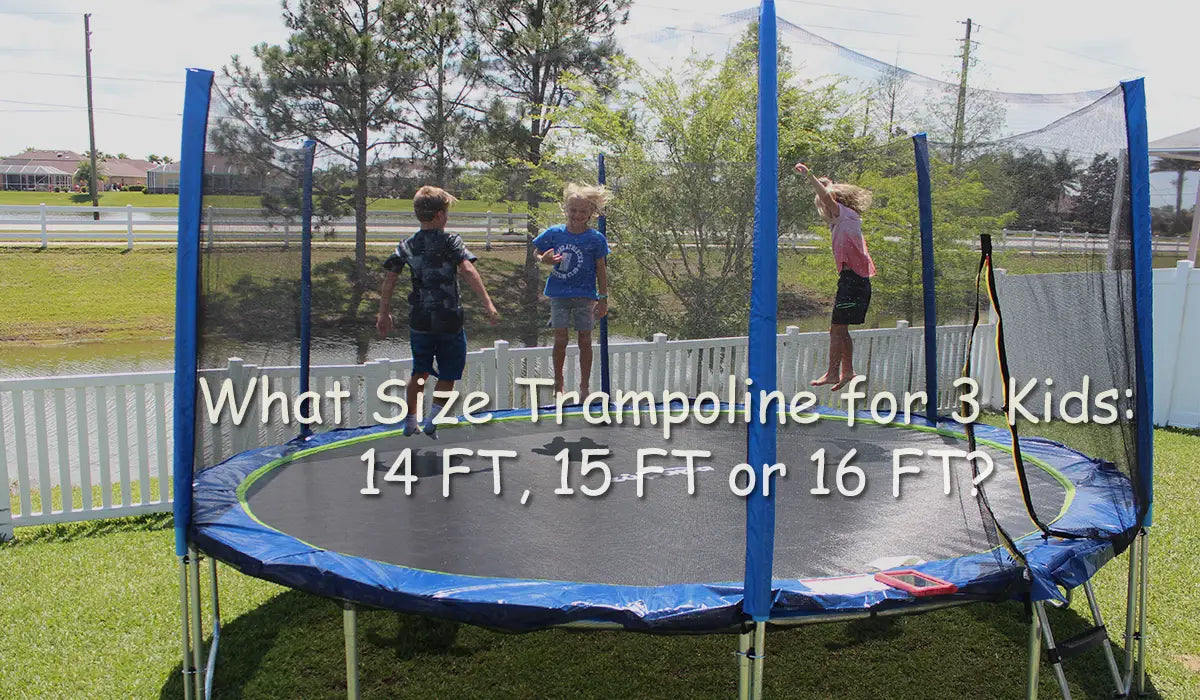
Once you already have the trampoline delivery boxes in your hand, your dreamy trampoline will soon appear in front of your eyes – If the setup goes well!
To guarantee everything happen as smoothly as you expect to, let's have a glimpse of how to assemble a trampoline first. Here in this Trampoline Assembly Guide, we will introduce you everything like how long it takes to assemble a trampoline, tools required to help efficient assembly, what errors to avoid while installing, etc.

Warm tip: This installing guide is about outdoor trampoline assembly on a basis of how to set up a Zupapa Outdoor Trampoline for your reference. The assembly steps, time, tools and mistakes mentioned in this guide usually also apply to backyard trampolines of other brands.
How Long Does It Take to Assemble A Trampoline?
Typically, it takes about 1~2 hours to assemble an outdoor trampoline. The exact assembly time varies according to the trampoline size, type, spring numbers and how many people are going to help.
The larger the trampoline, the more springs it may have, and thus asking more time to attach the springs to the frame. The square trampolines may also need more time than round trampolines on installation. Besides, the larger the installation group size, the shorter time the assembly may take. However, this rule is not always true. The more people in your group, the more time may be wasted on chatting and playing, especially when there are energetic kids.
|
Outdoor Trampolines of Different Size |
Time Needed to Assemble A Trampoline (1~2 people) |
|
14 FT, 15 FT, 16 FT Trampoline |
1~2 hours |
|
8 FT, 10 FT, 12 FT Trampoline |
1~1.5 hours |
6 Important Steps to Set Up a Trampoline
If you have a basic understanding of the setup steps, you don’t need to pay someone else to assemble your trampoline! You can do the work as perfect as a professional installer! The 5 most important steps to set your trampoline up include the followings.
First, Prepare All the Trampoline Frame Bases and Place Them on the Ground
Let’s start from the bottom. There may be 5~6 bases, each of which consists of a U-shaped stand and two short upper poles. Attaching all the short poles to the stands, and then put all the bases on the ground.
Second, Assembling the Round Frame Ring
The round frame on the bases is one of the most heavy parts of a trampoline. You are suggested to ask someone else to help. The frame consists of two types of poles, including one with holes at both ends and another one with a protruding section ready to insert in the holes. Your next work is to install the two types of rods together to form a circle. Later, put the frame base and ring together!
Third, Attach the Springs and Mat to the Frame Ring
The most significant and complicated part comes. You need to assemble the springs now! Each trampoline has about 48~120 springs. The first 4 springs should be attached to the frame from 12 o’clock, then next to 3, 6, 9 o’clock (VERY IMPORTANT). If you start from one single direction, you may fail to attach your spring to the frame on the opposite side, because it may then be too tight to pull.
Fourth, Fix the Pad
The trampoline pad circle around the mat is essential. It hides the springs underneath it, so that the child will never touch and get injured because of the springs when bouncing. You are going to fix the pad now. Using the hooks under the pad. Crossly attach the hooks to the V-rings under the pad, and then the pad can be perfectly fixed.
Fifth, Put the Safety Enclosure Net to the Poles
Next, slide the pole with foam into the safety enclosure mesh pole jacket in turn. For a 15 FT Trampoline, there usually have 6 pole jackets. Make sure all the poles are sliding into the jacket. While sliding, you can put all the poles and net on the trampoline frame with mat you’ve just finished, so that you can work standing up instead of squatting or bending over.
Sixth, Tie the Poles of the Net and the Base of the Frame Together
The final step comes. Let’s tie the poles of the net to the frame base. Using the U-shaped stakes (or called clamp sets) to tie them together, and finally fastens the Clamp Sets with the Spanner offered in the package. This time, it is still recommended to install the two opposing poles first.
Tools Needed to Assemble a Trampoline
All Zupapa Trampolines, including the backyard trampoline, fitness trampoline and indoor kids trampoline, have included the necessary tools needed to assemble the trampolines in the package, including the spring loading tool, screwdriver set, gloves, etc.
Spring Loading Tool (Spring Puller or T-hook)
Spring Loading Tool helps you contact the springs with the frame with ease. Trampoline springs have a semi-closed loop on one end and an open hook on the other. You need to attach the semi-closed loop to the V-ring on the mat and the open loop to the small hole on the frame. Fixing the semi-closed loop end first, and then using the spring loading tool to guide and pull the other end of the hole.
Screwdriver Set (Spinner)
A screwdriver set or spinner can be of great use when installing U-shaped stakes. You'll never know how painful a job it is to turn screws by hand. With the help of the screwdriver set, you can get rid of such annoying works.
Gloves
The gloves protect your hands from being scratched by the tips of the spring ends. You are suggested to wear your gloves at the very beginning of the assembly work.
7 Common Mistakes to Avoid Before Installing Your Trampoline
1. Free-Play
Always read the Zupapa Trampoline Assembly Manual First! We tested all installation methods over and over again and finally found that the one written in the manual was the most efficient and time-saving!
2. Not following assembly steps!
There are many installation possibilities, however, please believe that the one we choose must be the best. If you follow the steps we recommend, you will find the entire assembly work very easy!
3. Don't believe in the power of tools.
Let the tools help you set up the trampoline efficiently.
4. No advance planning of installation time
The entire assembly needs 1~2 hours by 2 people. You’re recommended to set aside appropriate time in advance. It is never a good idea to go somewhere else with a pile of uninstalled parts being left in the yard.
5. The U-shaped Stakes Should Be Facing Inward.
Each of the U-shaped stakes has two points on one side. You are advised to make that side pointing to the trampoline center, or your kids may get hurt when he or she is playing around the trampoline.
6. Make Sure the Enclosure Net Has Been Well Installed Before Attaching The Poles to the Frame
Let all the poles slide into the covers first, which will help a lot on your following steps.
7. The Frame Ring Consists of Two Types of Steels Instead of One.
The entire round frame ring consists of two types of steels instead of one. When installing it, remember that the two sides of each type of poles are connected by another type of pole.
Frequently Asked Questions on Trampoline Assembly
Can 1 Person Put Together a Ttrampoline?
Yes, but 2 and more people will make the work easier. When attaching the ring to the frame base, it is suggested to let one person holding the base to make it stand still and the other person to
How to Assemble a Trampoline Easily?
Once you’ve read this guide, you can easily set your trampoline up in 1~2 hours.
Trampoline assembly service VS. Assembling Your Trampoline in Person?
There are also chargeable assembly services available. You can search assembly service near me on Google to help. The price of the assembly takes minimum $100 to $250. Normally, you can do the setup by yourself, however, if you are busy, you can also ask for such an assembly service for help.
Conclusion
Assembling a trampoline is relatively complicated, but easy if you follow the right steps. No matter which size trampoline you have, the entire installation work won’t take you more than 2 hours. Reading the manual first and following the steps shown on it will help a lot! If you need any further help, please feel free to contact us.
Now that you have known how to assemble a trampoline, it's time to bring your trampoline home and try the assembly.


